
如何使用CORS代理解决“No Access-Control-Allow-Origin header”问题
引言
最近在编写项目过程中又遇到了跨域问题,之前在编写Bilibili 评论转图片神器项目过程中也有遇到过,解决办法是采用 CORS。而 CORS 需要浏览器和服务器同时支持,浏览器方面会自动完成,所以关键在于服务器。因为我调用的是第三方 API,如果它返回的Access-Control-Allow-Origin头信息不是*或没有添加我的项目地址的话,那我是无法直接获取资料的。所以当时我有写一个 Node 程序做中间件接口转发。当然,这个 Node 程序写得很简陋,功能有限,只能处理 Bilibili API 请求。然后我无意中发现了一个 github 项目cors-anywhere,它的介绍是这样的:
CORS Anywhere is a NodeJS reverse proxy which adds CORS headers to the proxied request.
CORS Anywhere
翻译成中文即,**CORS Anywhere 是一个 NodeJS 反向代理,它将 CORS 标头添加到代理请求中。**好像正合我意。看了一下用法也挺简单。 比如,平时我们发送 API 请求是这样的:
const url = "https://example.com"; // site that doesn’t send Access-Control-*
fetch(url)
.then(response => response.text())
.then(contents => console.log(contents))
.catch(() => console.log("Can’t access " + url + " response. Blocked by browser?"))运行结果当然是浏览器阻止该代码访问来自https://example.com 的响应。而浏览器这样做的原因是,该响应缺少 Access-Control-Allow-Origin 响应标头。
然后我们稍微修改一下代码:
const proxyurl = "https://cors-anywhere.herokuapp.com/";
const url = "https://example.com"; // site that doesn’t send Access-Control-*
fetch(proxyurl + url) // https://cors-anywhere.herokuapp.com/https://example.com
.then(response => response.text())
.then(contents => console.log(contents))
.catch(() => console.log("Can’t access " + url + " response. Blocked by browser?"))
Note: https://cors-anywhere.herokuapp.com/ 是 CORS Anywhere 项目的一个在线 Demo
上面这段代码可以成功访问响应,因为我们将请求 URL 前缀为代理 URL,即其更改为https://cors-anywhere.herokuapp.com/https://example.com, 请求通过该代理取得,然后:
- 将请求转发到https://example.com。
- 从https://example.com 接收响应。
- 将头信息 Access-Control-Allow-Origin 添加到响应中。
- 将带有添加的头信息的响应传递回请求的前端代码。
- 浏览器允许前端代码访问响应。
实测确实可以解决跨域问题,那么我们如何部署属于自己的 CORS Anywhere 呢?(当然您也可以继续使用https://cors-anywhere.herokuapp.com/)
部署
您还可以使用 5 个命令在 2-3 分钟内轻松地将您自己的代理部署到Heroku(Heroku 是一个支持多种编程语言的云平台即服务):
git clone https://github.com/Rob--W/cors-anywhere.git
cd cors-anywhere/
npm install
heroku create
git push heroku master
运行完这些命令后,您将最终运行一个属于自己的 CORS Anywhere 服务器,该服务器位于例如https://circlehotarux-cors-anywhere.herokuapp.com/。
cors-proxy-server
发现某些 API 使用 cors-anywhere 时会遇到 403 Forbidden 问题,具体如何解决留待以后更新。这里提供一个替代方案——cors-proxy-server,使用方法同 cors-anywhere 一样,官方提供了一个在线Demo。
const proxyurl = "https://secret-ocean-49799.herokuapp.com/";
const url = "https://example.com"; // site that doesn’t send Access-Control-*
fetch(proxyurl + url) // https://secret-ocean-49799.herokuapp.com/https://example.com
.then(response => response.text())
.then(contents => console.log(contents))
.catch(() => console.log("Can’t access " + url + " response. Blocked by browser?"))
Heroku
没有 Heroku?没关系,接下来我将教您如何注册使用 Heroku。
首先打开Heroku 官网,点击右上角的 Sign up
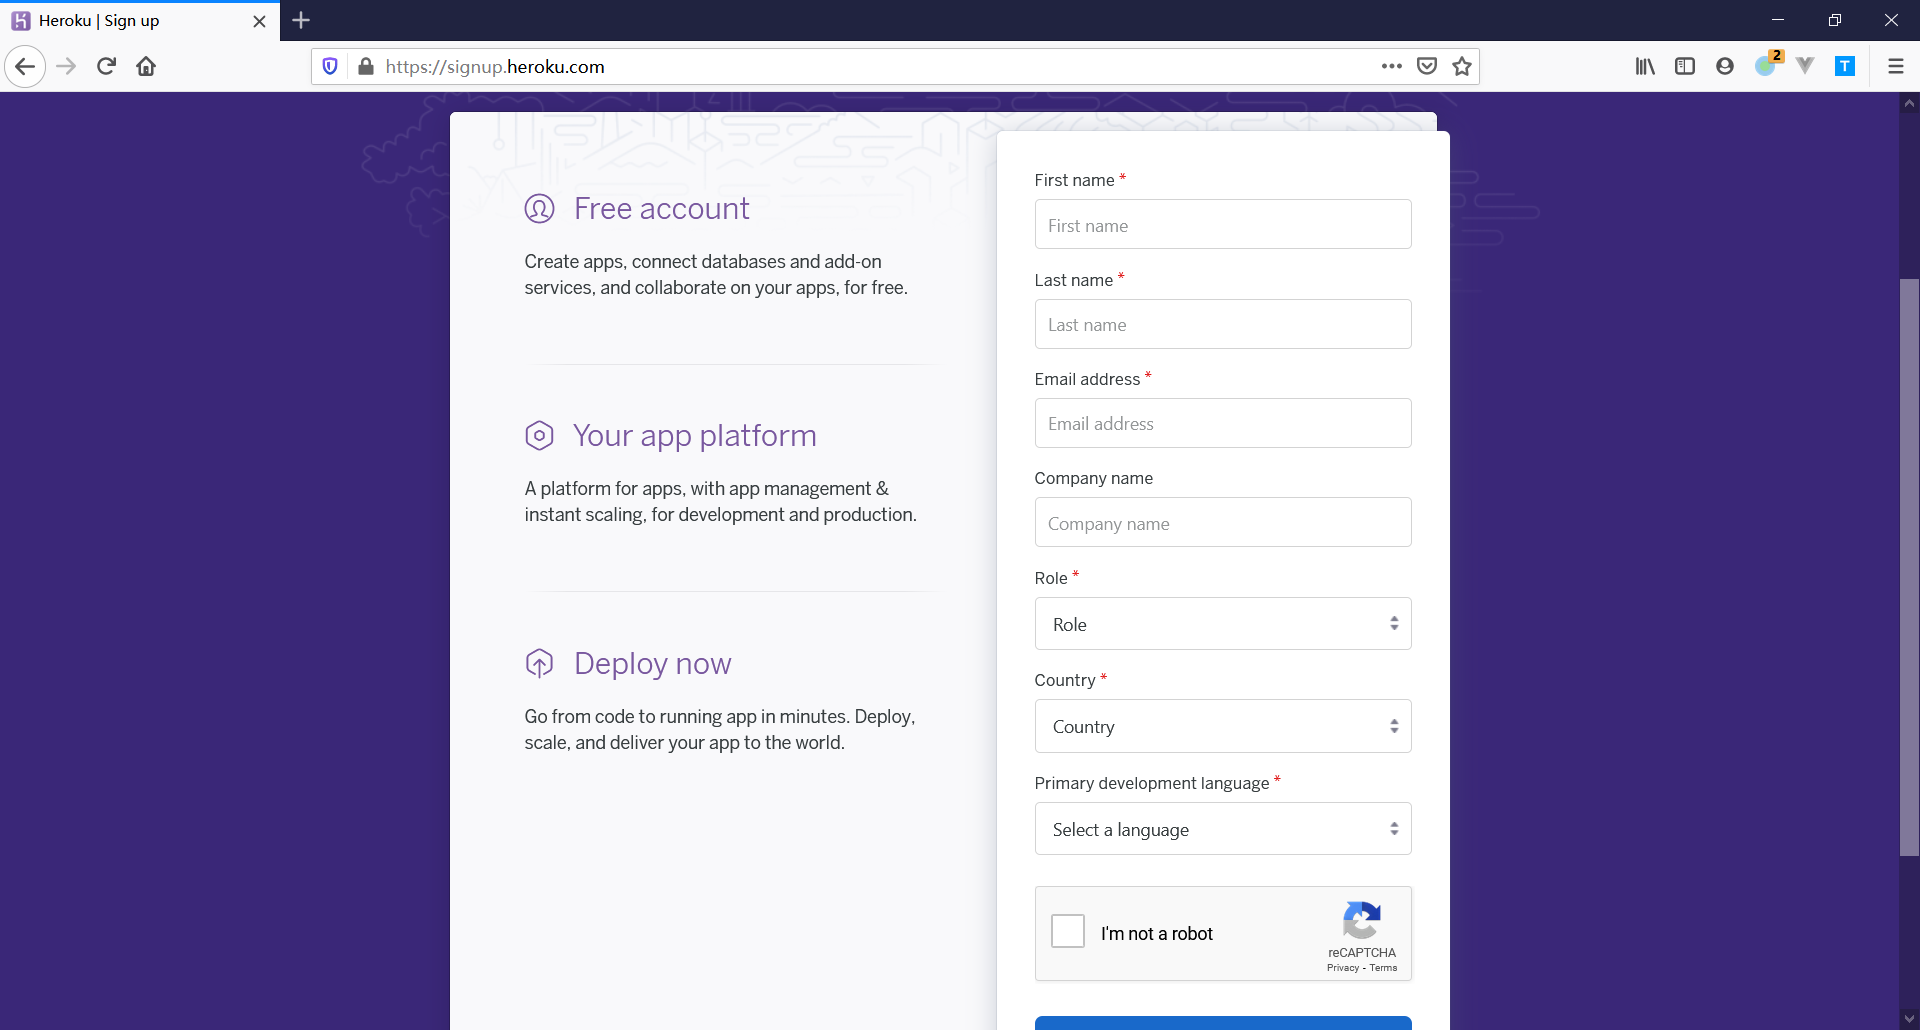
按要求填写好资料,注意填写邮箱填写国外的邮箱,如 gmail,使用国内的邮箱可能会注册失败。点击CREATE FREE ACCOUNT后会发送一封验证邮件到您的邮箱,点击邮件中的链接后会跳转到设置密码页面。设置完密码后,就正式完成注册啦!
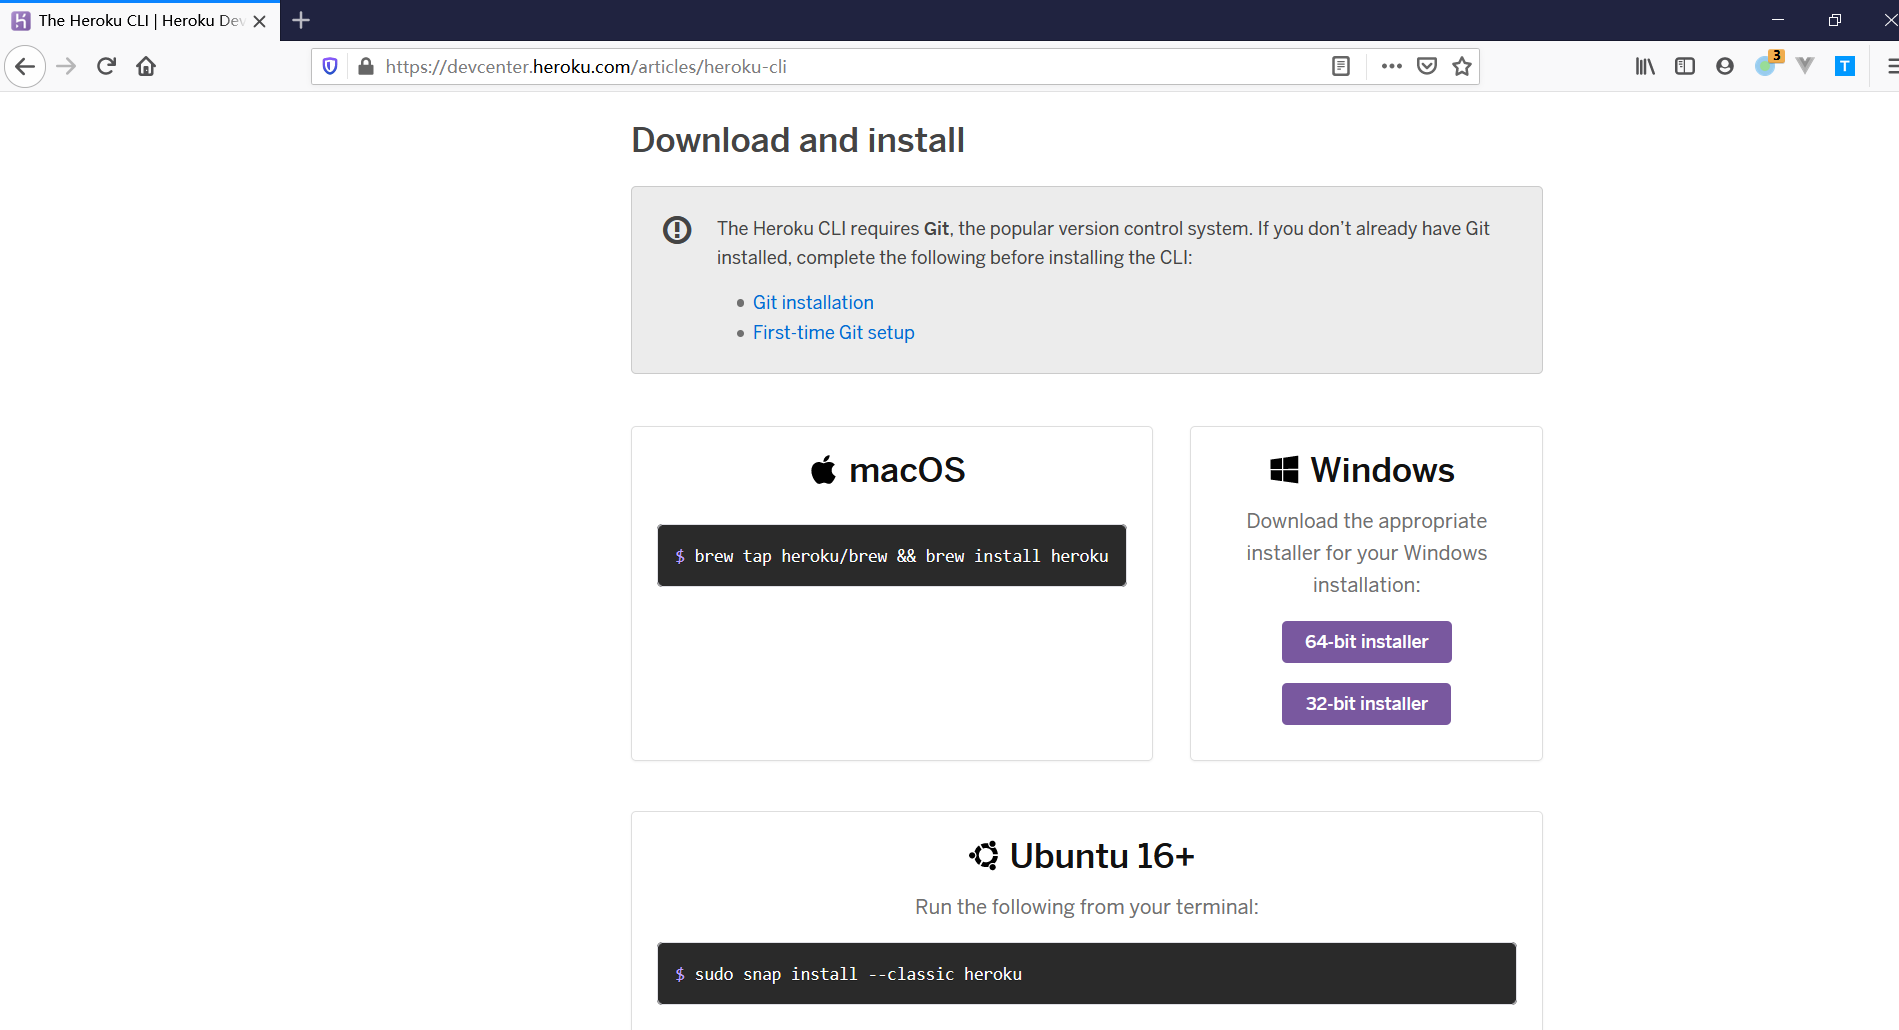
接着我们来到Heroku Dev Center下载 Heroku CLi,这是 Heroku 的命令行工具,为接下来做准备。选择并安装自己系统对应的安装程序即可。
安装完成后,在你喜欢的位置打开 git bash,我们将在这里下载前面所提到的 CORS Anywhere 项目。
git clone https://github.com/Rob--W/cors-anywhere.git
cd cors-anywhere/
npm install
然后我们还是在 git bash 中登陆我们的 Heroku 账号,输入heroku login -i:
heroku login -i
heroku: Enter your login credentials
Email: [email protected]
Password: ***************
Two-factor code: ********
Logged in as [email protected]接着输入heroku create ${APP name}来创建您的第一个 APP,注意,这里创建的 APP 名是唯一的,也就是如果有人已经使用了您想要的名字,您将无法创建该 APP。当然您也可以输入heroku create来创建一个随机名字的 APP。
heroku create
Creating app... done, ⬢ sleepy-meadow-81798
https://sleepy-meadow-81798.herokuapp.com/ | https://git.heroku.com/sleepy-meadow-81798.git最后输入git push heroku master将 APP 部署到 Heroku 上。打开上面提供的地址您将看到您所部署的项目,Awesome!
总结
这篇文章帮助您部署属于自己的 CORS-Anywhere 项目。同时,带领您对 Heroku 有初步的了解。现在您可以轻松的解决跨域问题啦~